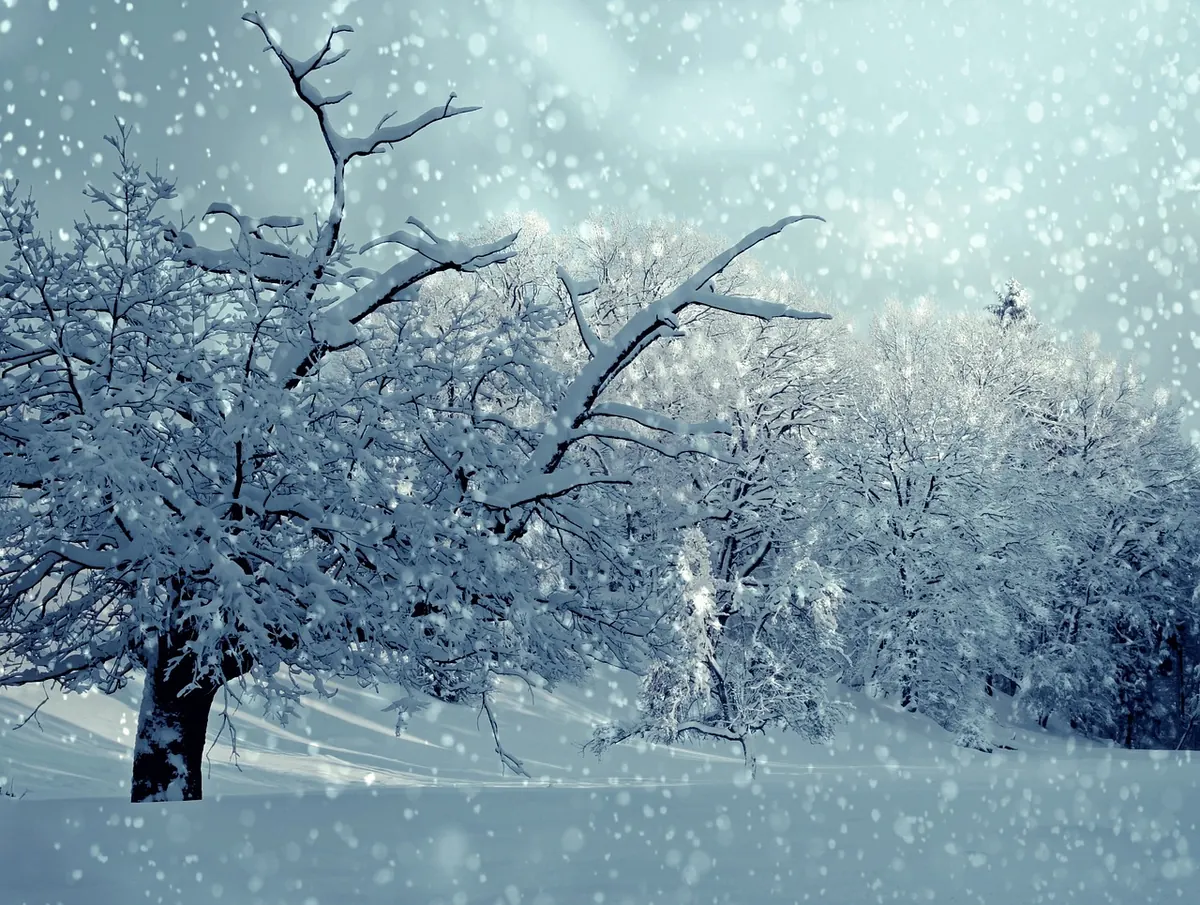
Winter gives landscape photographers something no other season can: a stripped-back world, light that stays low all day, and subjects that exist for only an hour or two. It also asks more of you. Snow misleads your meter, frost vanishes the moment you fumble a setting, and the sun can be gone before you have finished your flask. Get a few fundamentals right and the coldest months become the most productive of the year.
Your camera's meter assumes the world averages out to a mid-tone. Point it at a snowfield and it does what it has been taught: it darkens everything to make that field grey. The result is dull, muddy snow that looks nothing like the scene in front of you.
The fix is exposure compensation. How much depends on how much of the frame is snow. A small bright patch against dark rock might need only +0.3 to +0.7 EV, while a full frame of fresh powder can want +1.5 or even +2 EV. Rather than guessing, learn to read the histogram: the brightest snow should sit close to the right-hand edge without clipping. Switch on your highlight warning so blown patches flash at you.
If you would rather not chase the compensation dial, switch to spot metering and take a reading from a genuine mid-tone in the scene — a dark tree trunk, wet rock, a mid-grey jacket — then lock the exposure and recompose. It is slower, but it is reliable when the light is changing fast.
Frost is a different problem. It is at its best backlit, glowing against a dark background of trunks, walls or hedges. On a clear, still night, frost forms first in the coldest corners: shaded hollows, the sheltered side of a slope, ground beside water. Arrive before the sun reaches those spots, because direct light melts the crystals and the magic goes with them. In flat, overcast light, snow acts like a giant softbox and contrast collapses, so stop looking for grand vistas and start looking for texture: drift shapes, footprints, the lines where snow has settled on branches.
In the depths of a British winter you might have eight hours of usable daylight, and far less of it worth photographing. That compression is an advantage. Golden hour is not a narrow window you have to sprint for; it stretches out on both sides of a low sun.
Blue hour is longer too, especially further north. Twenty or thirty minutes before sunrise, the sky can hold deep blues with a band of pink, and warm window light starts to appear in villages. It is one of the easiest times of day to shoot, because the contrast range is gentle and you can work on a tripod with exposures of a second or more.
Through the middle of the day, the sun stays low enough to give side light and long shadows almost continuously. That means midday is not wasted. Shoot into the sun to catch sparkle on frost and snow; keep your lens hood on, shield the front element with your hand if you can, and watch for flare. A small aperture — around f/11 to f/16 — will turn a low sun into a clean star, though it costs you a little fine detail to diffraction.
Snow simplifies a scene, which is a gift if you like minimal photographs and a trap if you like busy ones. Whole layers of detail disappear, leaving shape, line and tone behind. Work with that rather than against it.
Get low. Frost is a ground-level subject, and a tripod dropped to knee height turns a scruffy patch of grass into a forest of crystals. Keep the horizon straight and give the subject room to breathe; negative space is rarely a mistake in winter.
Cold weather rarely kills a camera outright, but it will test your batteries, your patience and your lens cloths. A few habits keep everything working.
Low light means slow shutter speeds, so a tripod is not optional for most winter work. Use a remote release or the two-second timer, and switch off lens stabilisation if your manual advises it when the camera is locked down. Live view with magnification is the most accurate way to focus on frost or ice patterns, especially when a cold focus ring feels stiff and vague.
Mist is the winter photographer's reward for an early start. Temperature inversions fill valleys while the tops stay clear, and the mist usually sits until the sun gets high enough to burn it off — so plan to be in position before sunrise rather than arriving after.
Winter photography is mostly about turning up. The photographers who come home with something worth keeping are the ones who set the alarm, get there before the light, and stay ten minutes longer than their cold hands would like. Dress properly, keep your batteries warm, watch the histogram rather than the back of the screen, and the short days will start to feel generous.
Photo: cocoparisienne / Pixabay
A practical packing guide for nature photographers heading into the British outdoors, covering cameras, lenses, rain...
How to find, time and photograph Lake District fog — accessible viewpoints from Buttermere to Tarn Hows, exposure...
A practical guide to photographing Britain's spring wildflowers: reading the bluebell season, working with soft...

Exploring misty landscapes and quiet natural places.
